On to Machine Shop Special Projects - Sub-scale Muzzleloading Artillery
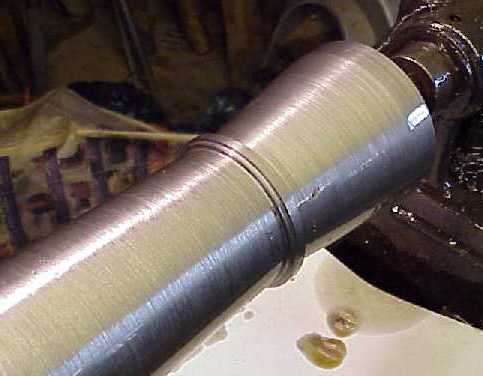
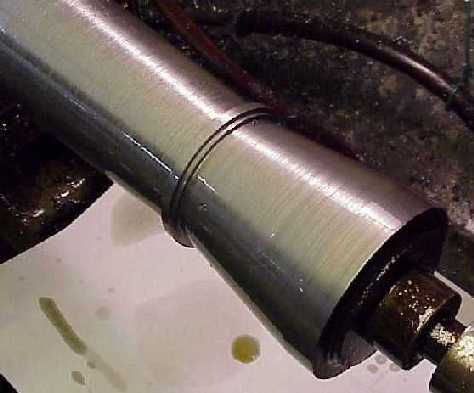
The fillets and astragal are on the other side of the edge we finished the chase with. To get there, we need to rough off a lot of the material in the remaining blob. The best way to do this is to set the compound rest at an angle that will touch the curve at the front of the fillet and be tangent to the radius at the maximum diameter. This turns out to be 7.85° which we will round off to 8°. The fillets and astragal are .320" wide, so we need to make a trial cut feeding with the compound rest to locate the forward edge of the fillet. After the cut is deep enough to bypass the bit nose radius, stop the lathe and measure the width of the fillets/astragal; hopefully it is not too narrow. Assuming it is not, feed enough more to get the width correct and note the value on the micrometer collar as we will stop there on subsequent cuts. Back out the compound rest and feed in for another pass; repeat until the proper depth has been reached. Back out .080" and feed the carriage .080" to the left to rough the forward fillet. Back out another .080" and turn the top of the astragal. Then switch tools to one to cut on the right side and cut the left fillet.
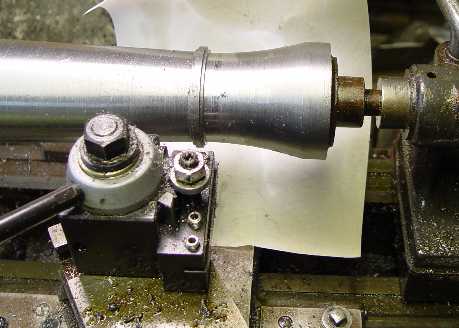
What remains for this setup is to change the 8° cut into the curved surface on the back of the muzzle. It can be done freehand but a more accurate though tedious way is to compute the infeed/traverse numbers for a series of step cuts that trace the shape of the curve. This is easy with a computer program (my day job is computer programmer) and I did it with .001" steps in the radius so there won't be much filing required. The downside to such small steps is there are 336 of them. But that's what I did and this is what it looks like:
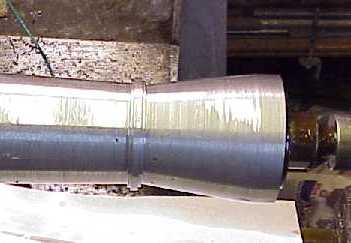
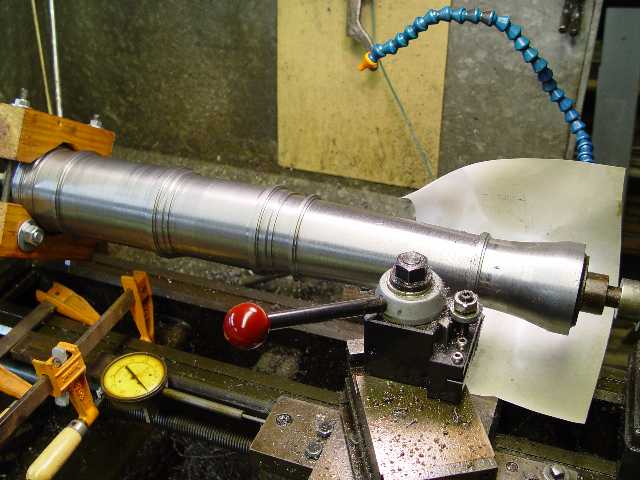
Here is where we are now; it is really starting to look like a cannon.
We will leave the muzzle unfinished so it can ride in the steady rest while we drill it without damaging finished surfaces.
Next we will move to the larger lathe and drill the bore.