On to Machine Shop Special Projects - Sub-scale Muzzleloading Artillery
The trunnions are simple cylinders with flat ends so I don't have any pictures of them alone. To make their
pockets, we put the barrel on the milling machine between centers in an indexing device. Center the barrel under the
spindle, then offset half the diameter of the trunnion and run a half inch two-flute end mill down to the pocket depth.
Repeat this process increasing the diameter of the end mill by a quarter inch each time so we don't stress the setup too much.
Eventually we finish the pocket with a 1 1/8" end mill. The horizontal 2x4's are to prevent damage if the piece is dropped
on the mill table; the vertical ones plus the clamps are a field expedient to prevent unwanted rotation of the barrel.

Rotate the barrel 180° and reverse the offset to the other side
of center, then repeat the pocket drilling process. You end up with the following.

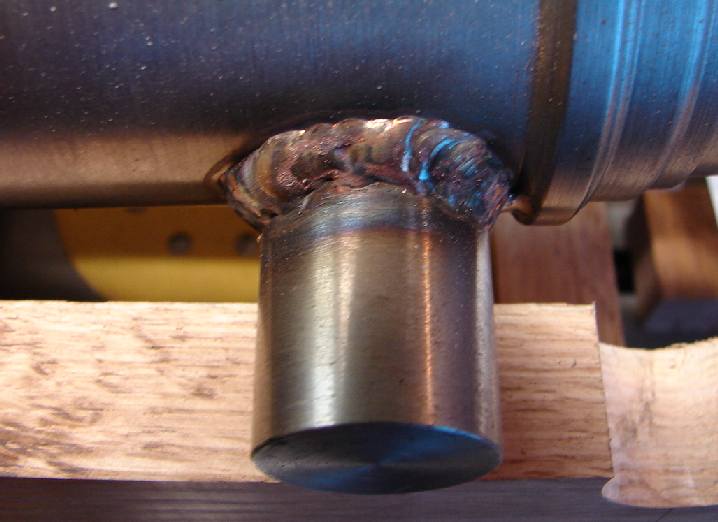
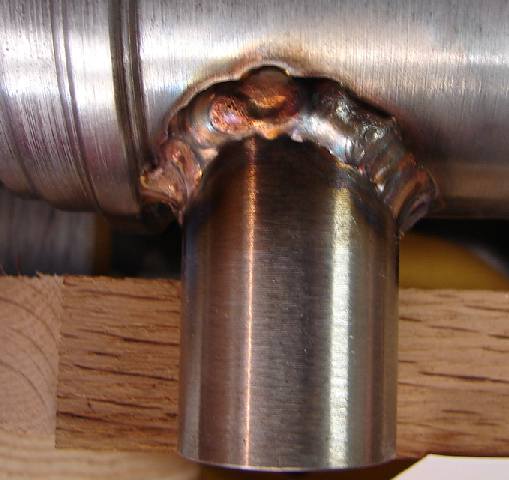
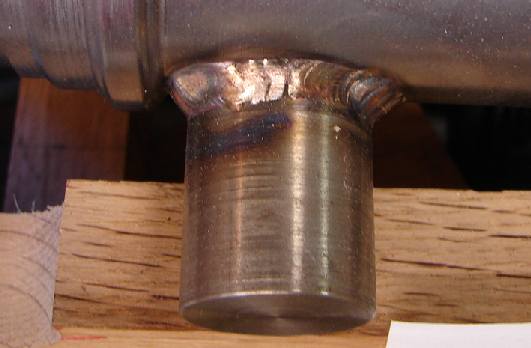
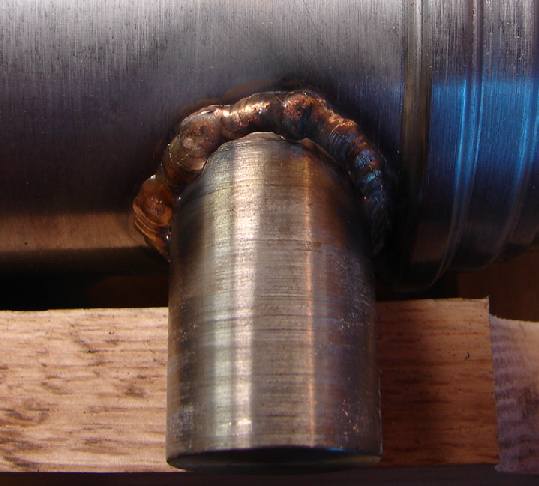
Next you want to attach the trunnions. If I were to make another one of these, I wouldn't scrimp on the steel; I would buy
a new piece of 1018 cold rolled so I knew what kind of material I was using. Then I would TIG weld the trunnions to the
barrel. Since I didn't know what kind of steel I was using, I decided to silicon bronze braze the trunnions into the
pockets. Here are top and bottom views of each trunnion.
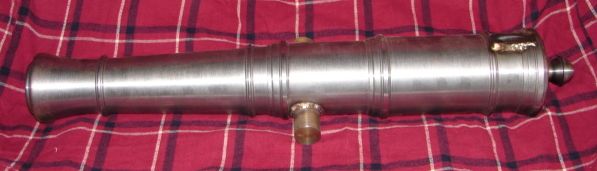
Finally we have to make the vent field and mill a recess for it in the barrel, then braze it in place.

So now we have something that really looks like a cannon barrel.
Add a little bit of glossy black paint and we are finished with the barrel.
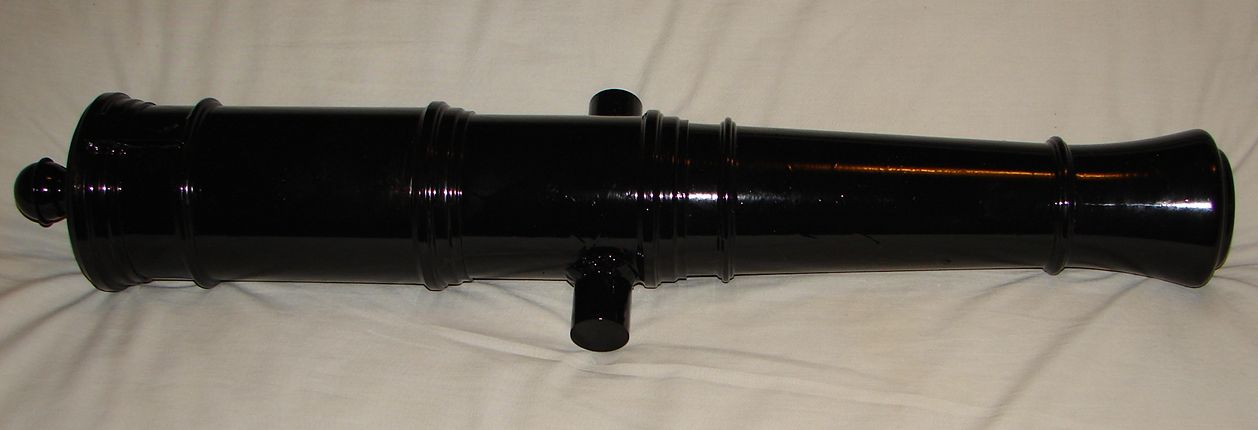
Next we will start working on the carriage.